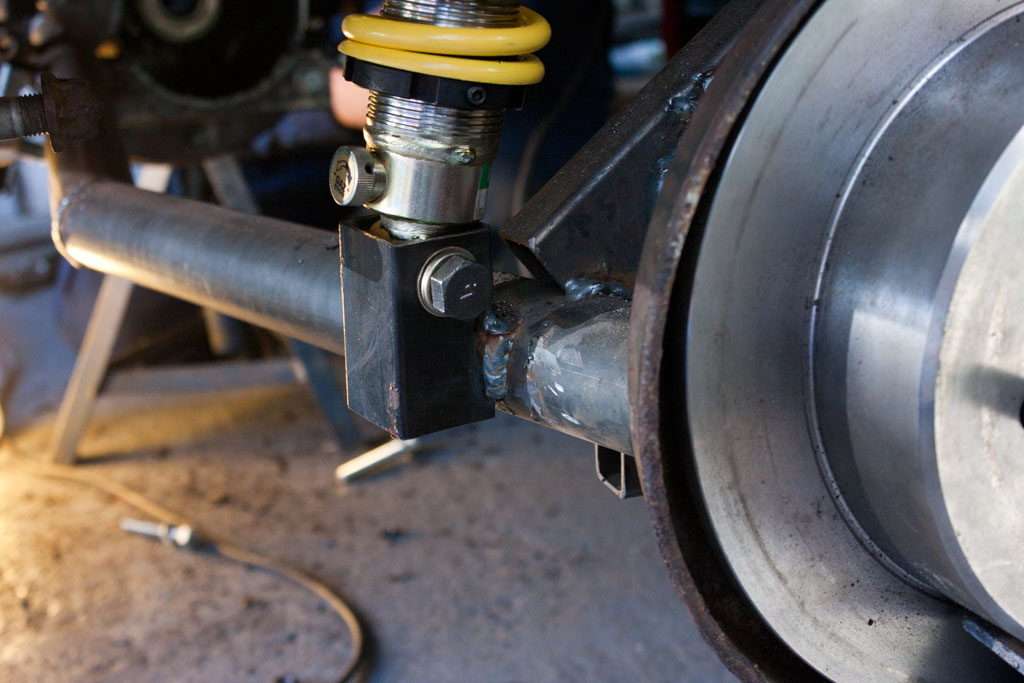
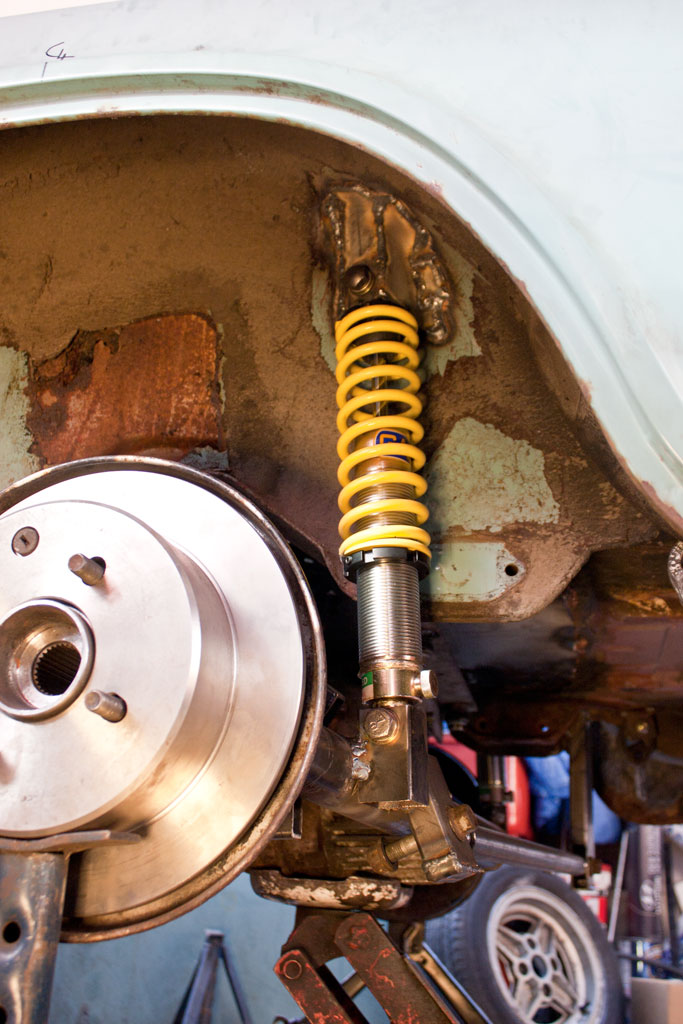
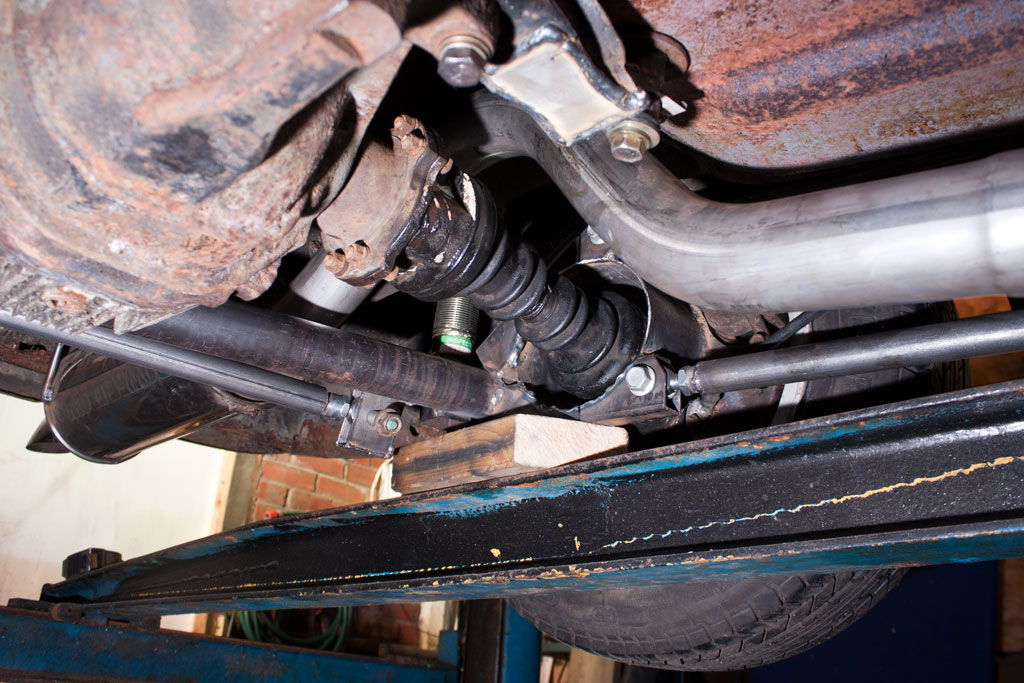
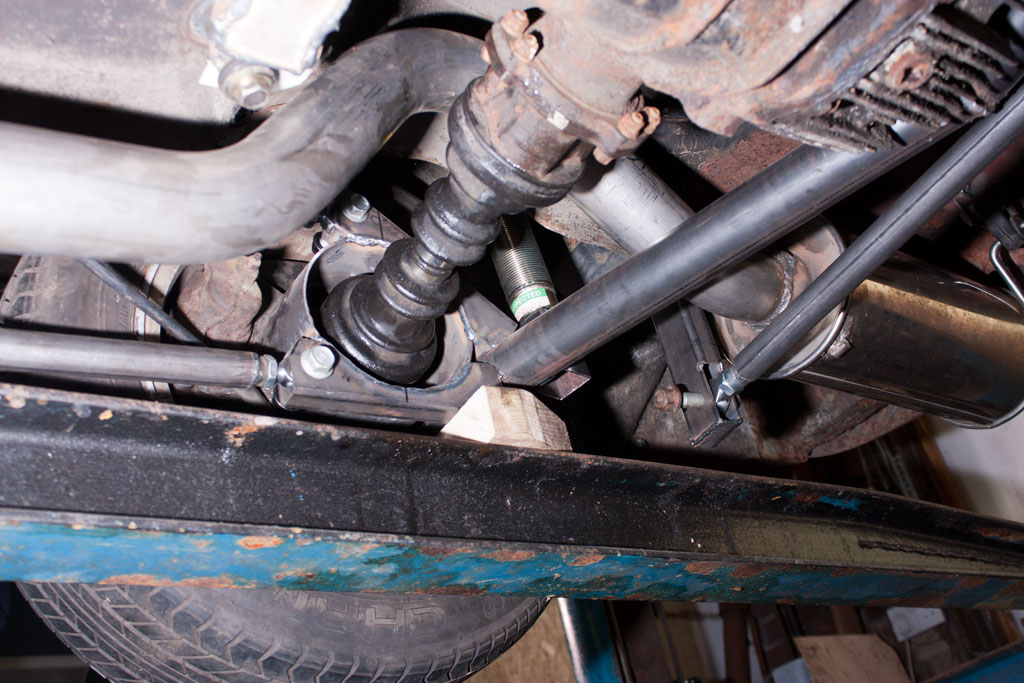
Having worked out the rough ride height with our temporary bracketry and solid bar, I ordered some adjustable shocks and springs, and we re-did the lower mount, and reinforced the top mount. The lower mount will have some additional bracing and welding completed the next time the axle is removed from the car and we can get to it all more easily.
With the de-dion now moving up and down like it should, we need to get some drive to the wheels.
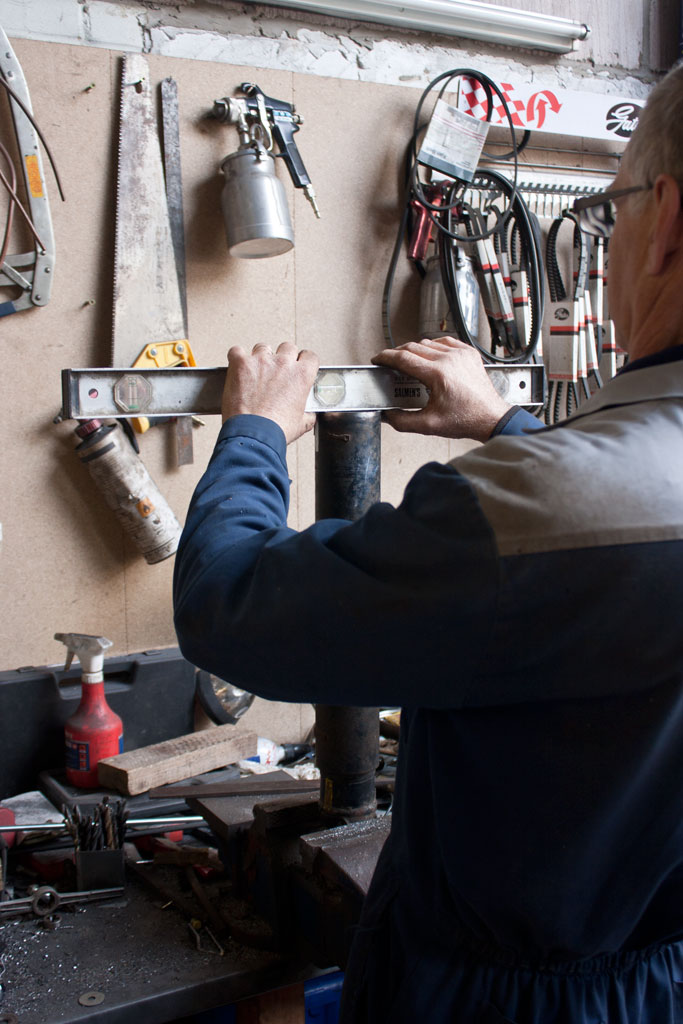
The Nissan diff is about 50mm longer than the Anglia diff, so the Nissan propshaft, which bolted straight up to the Anglia diff, is now 50mm too long to bolt up to the Nissan diff.
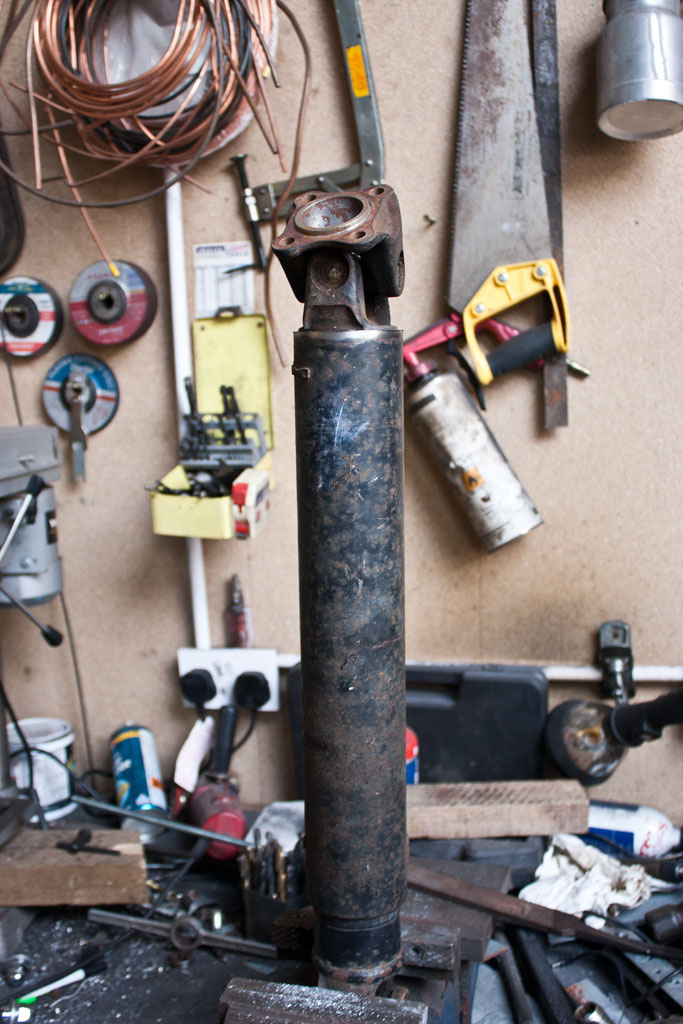
Being a two piece propshaft, we pulled the rear part off, and set about removing 50mm from the length. By clamping it in the vice and utilising a spirit level, we were able to get a clean cut to reposition as necessary.
With the propshaft cut to length, next to tackle is the driveshafts. The Anglia is a lot narrower than the Nissan, so a touch more than 50mm needs to be removed from the overall width.
We cut the driveshaft down, and with the use of a lathe and an angle grinder, we V’d the ends to provide a large surface area to weld the two ends back together.
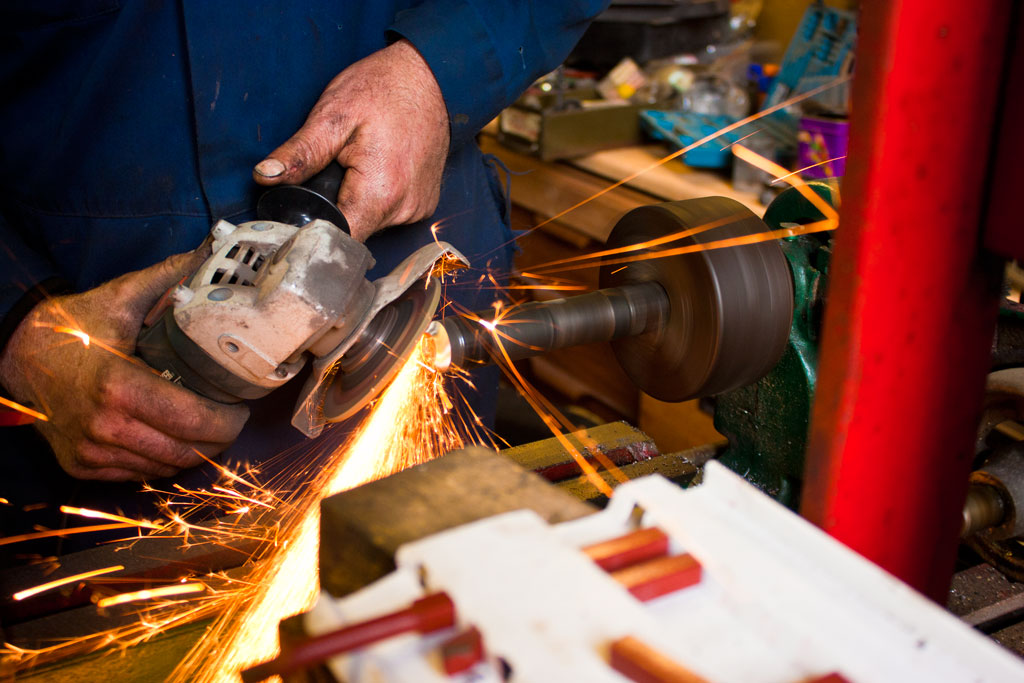
Once welded together, the driveshafts were checked for straightness on the lathe, and the boots were refitted, albeit much closer than previously, and the new driveshafts are attached to the car.
The propshaft and driveshaft modifications done here may not be the final parts used on the car. What they will do, however, is allow me to put something together, which will be at least enough to move the vehicle under its own power, and prove the concept. They may stay on the car, they may fail spectacularly the first time any serious power is applied to them – if they work, brilliant, if they don’t, all I’ve lost is a couple of hours of time, and I’ll get some made up elsewhere.
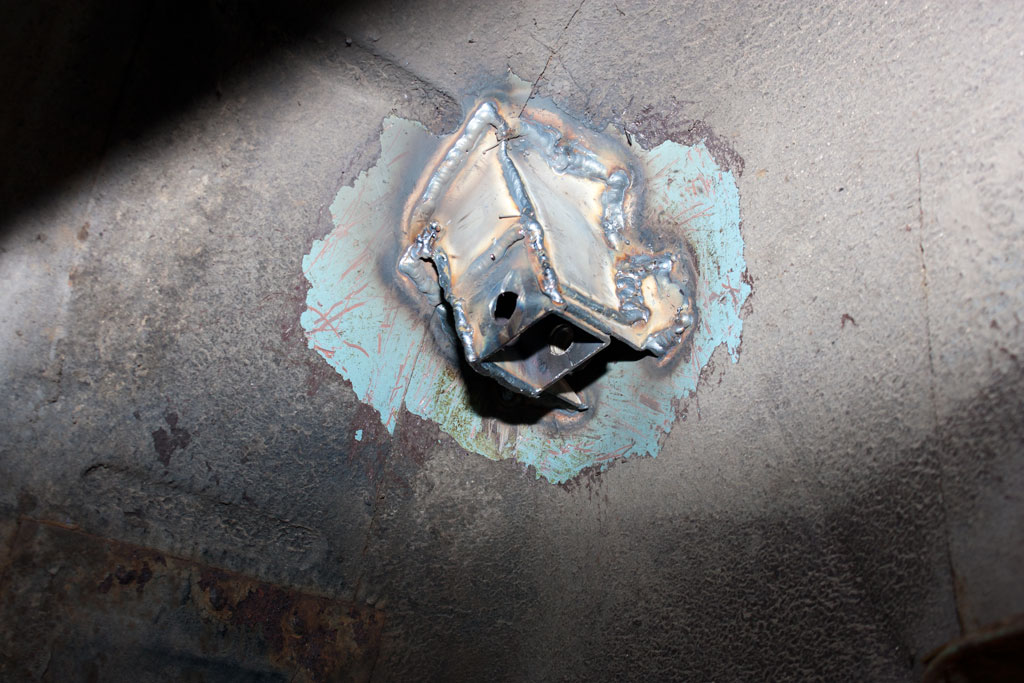
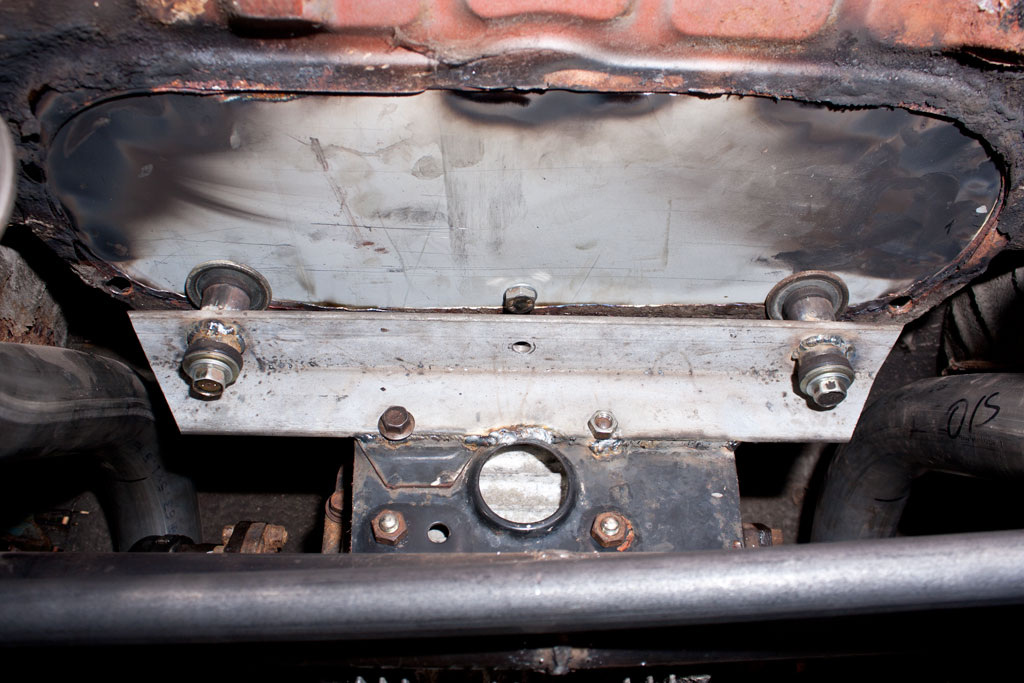
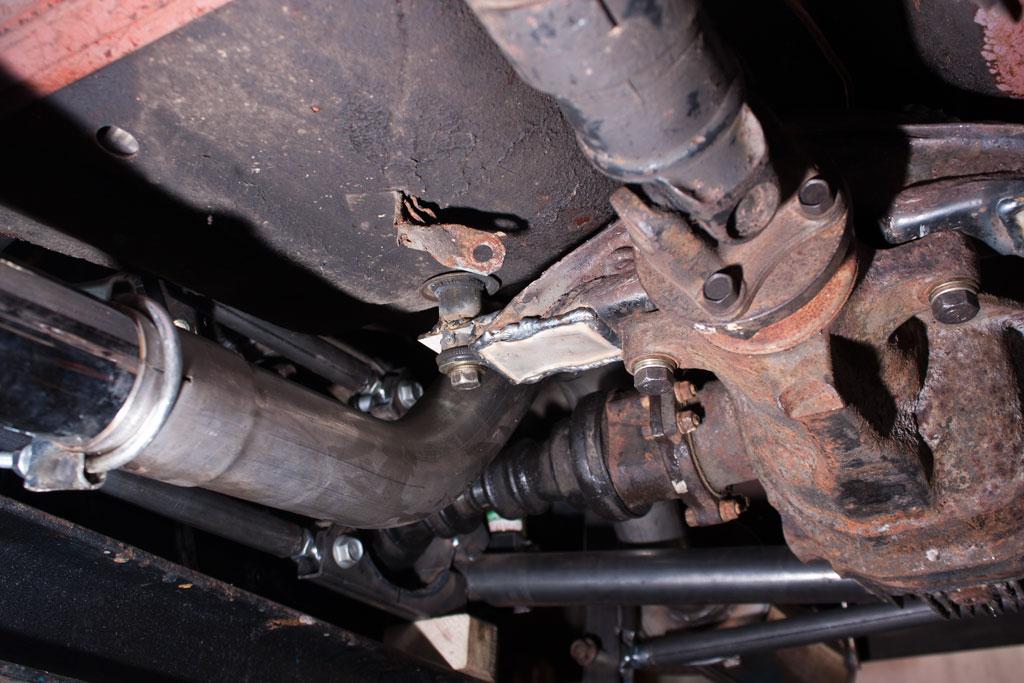
A couple of shots of the diff mountings now. These are rubber bushes within a length of tube, with a long bolt going through into the body. Should absorb some of the vibrations/noise coming from the diff…

And finally, the completed article. One completely home-made, custom rear axle, to my exact specifications, and should be strong enough to take whatever power the engine can throw at it.

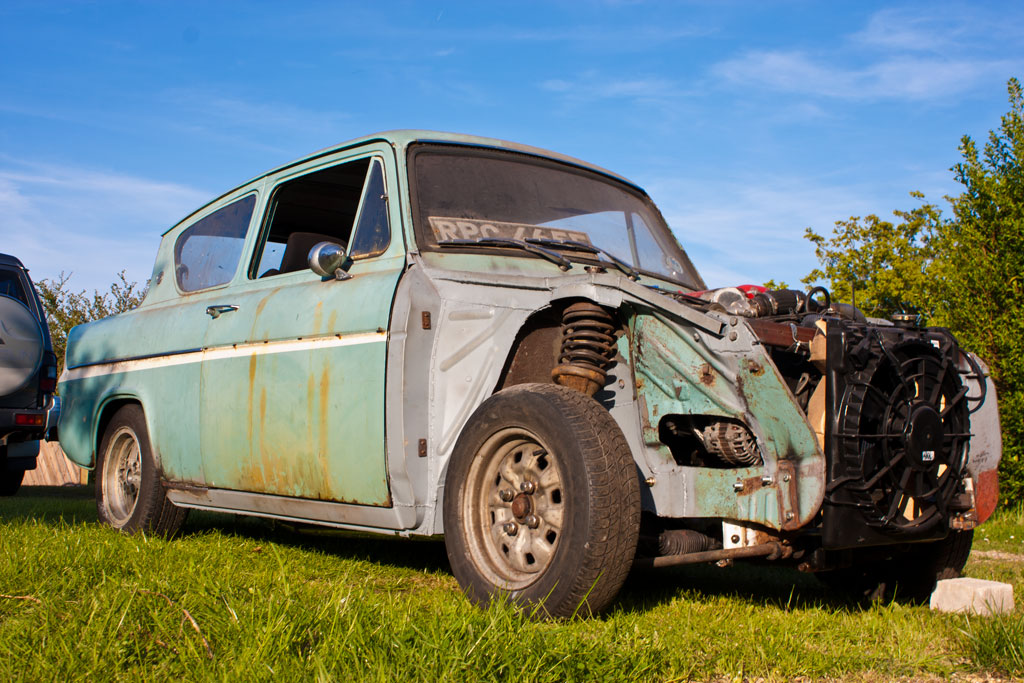
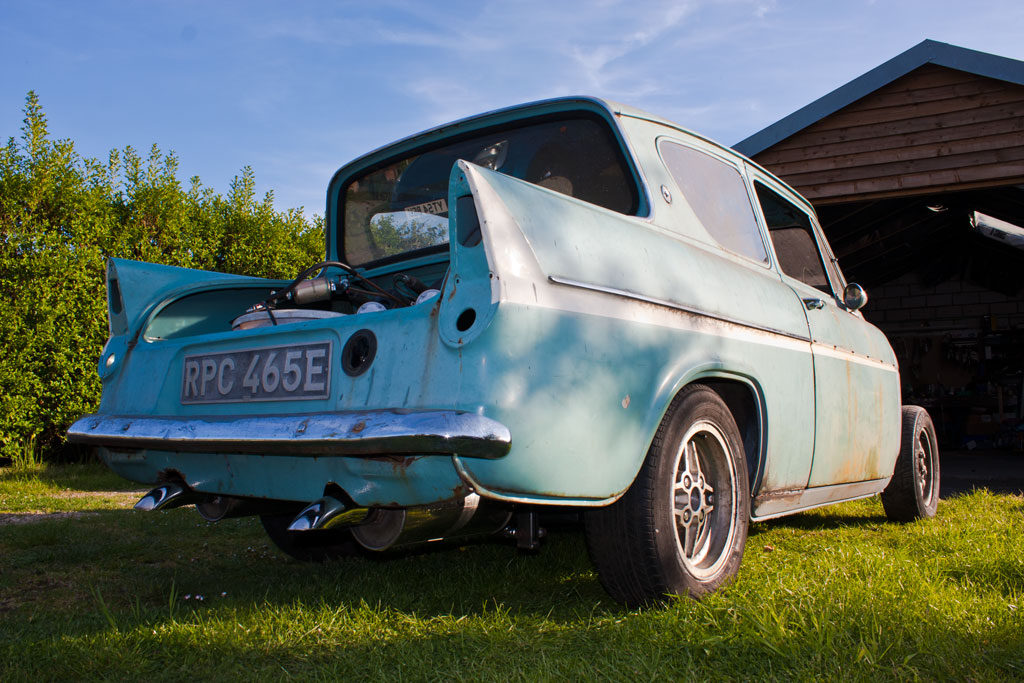
We then couldn’t resist driving it outside for its first little photoshoot outside of the confines of the garage, and to enjoy the surprisingly good weather.