This update comes courtesy of my step-mum, who suggested that my dad booked a week off work to spend purely on the car! Thankfully, my girlfriend also thought it was a good idea, and so this is the culmination of a week’s work! The last full week I had on the car (back in November 2011!), we made loads of progress – would this week be as productive? Read on to find out!
As the suspension mounts have been moved onto the diff carrier, the mounting points needed reinforcement. The rear mounts had already been reinforced, so we did the fronts, they now bolt through some nice heavy box section.

Where we had to cut away the bulkhead for the water pipes off the back of the engine, this needed replacing, so a new panel was made up. Originally we planned for this to be removable to gain access to the water pipes – but with the engine so simple to take out (less than an hour), there’s really no point, so it’s welded in for no loss in strength.

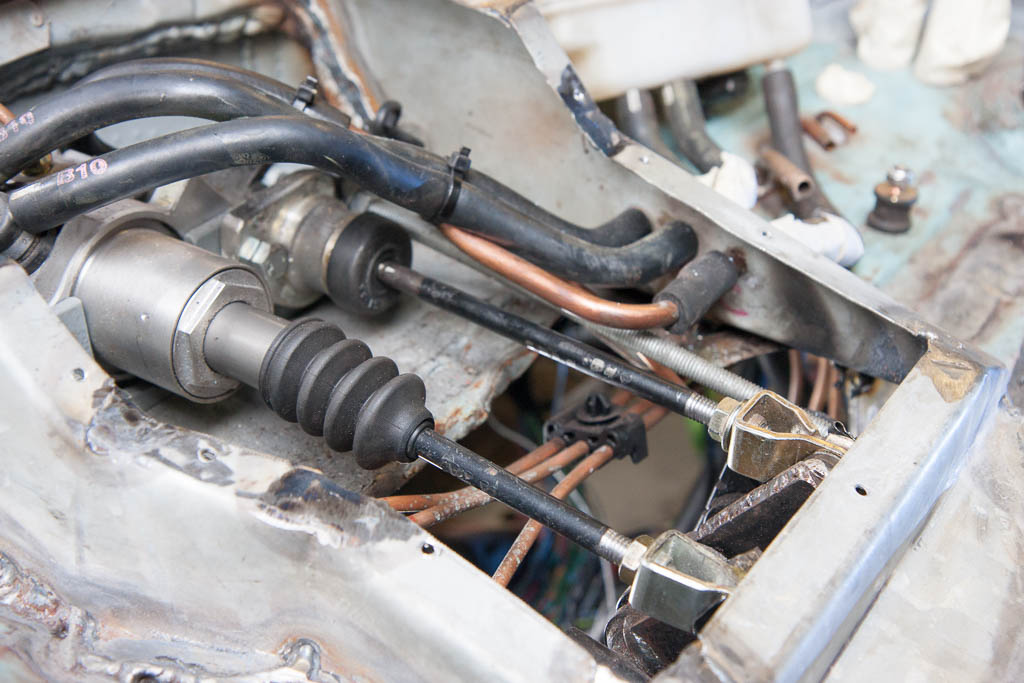
It was always to plan, once we’d proved that the brakes/clutch worked OK to replace the temporarily made push-rods with new ones, made from a single piece of metal, rather than the extended temporary ones.
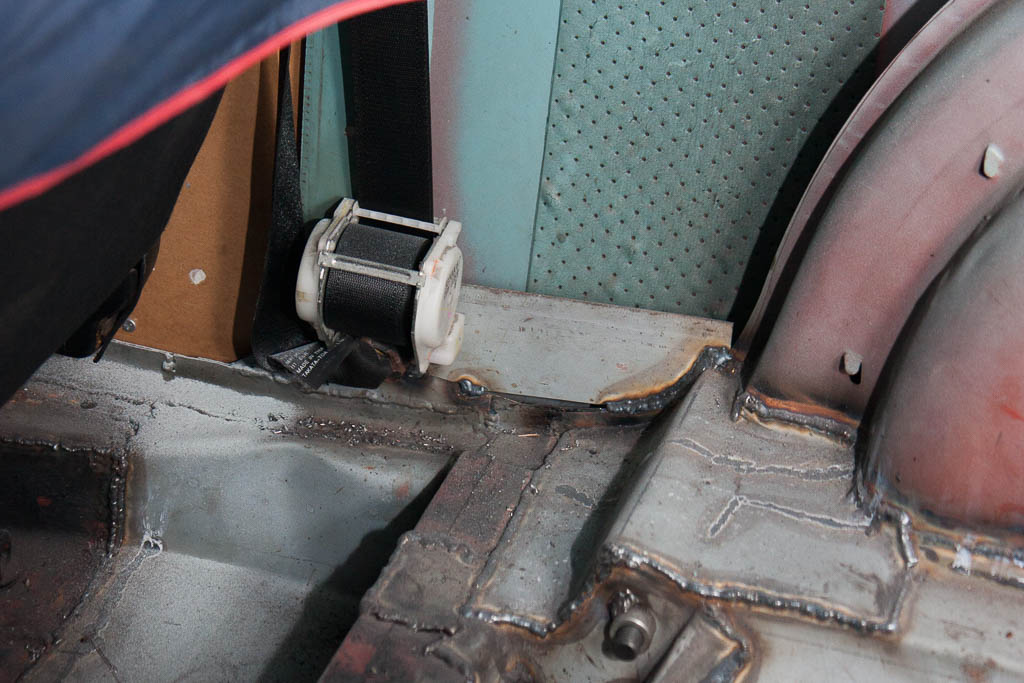
Being a 1967 (and, of course, for safety), it needs seat belts in the front. A pair of inertia-reel seatbelts have been fitted, which are much better than the original fixed belts!
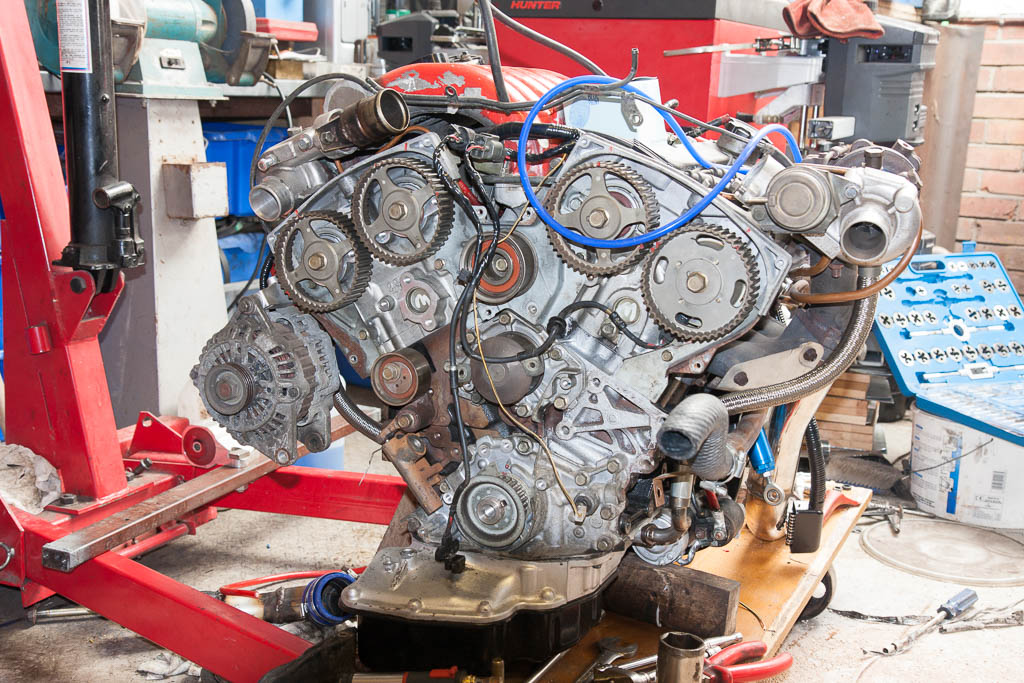
Having had the car running and driving for a while (only as far as in/out of the garage, and on/off the trailer), we noticed that the coolant level was dropping, and the oil level was increasing… so, the engine/gearbox came out, and it had a pair of new head gaskets, a set of 24 valve stem seals, new lower inlet manifold gaskets, and new injector seals/filters.

Whilst the engine was out (hopefully for the last time for a while!), the bare metal and welds were given some protection.
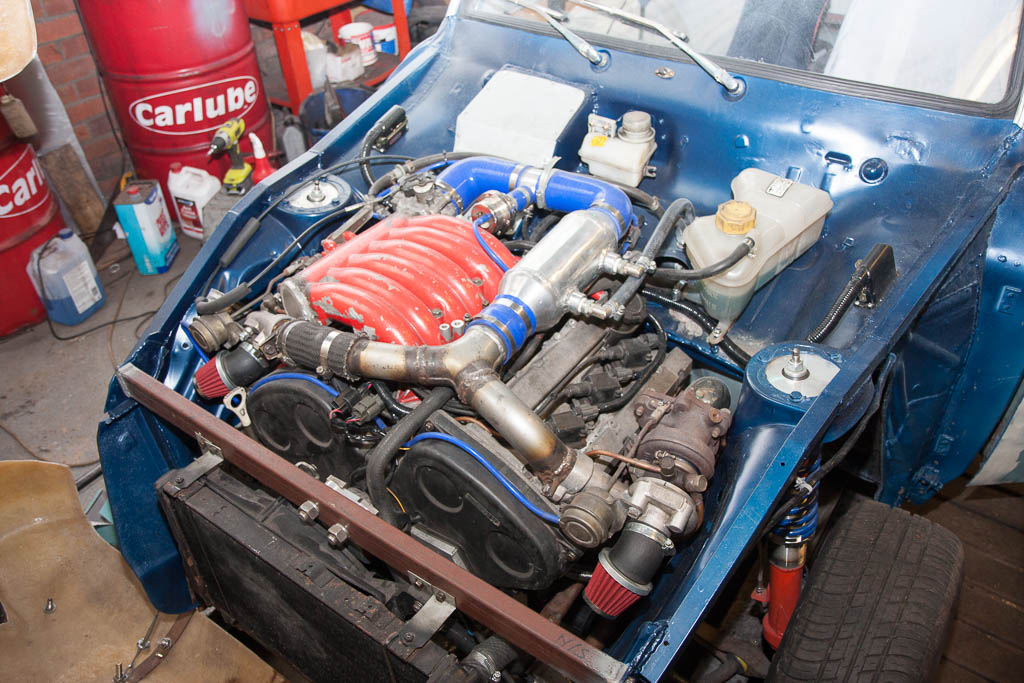
Not having enough of a single colour in the cupboard, we mixed together 4 different colours: Mitsubishi Fiji Blue pearlescent, Mitsubishi Twilight Blue metallic, Ford Java Blue metallic and Vauxhall Lagoon Blue metallic. So even the paint is a hybrid of various makes! (The flash makes it look a little lighter than it is in daylight – that’s all the metallic/pearl bits catching the extra light from the flash)
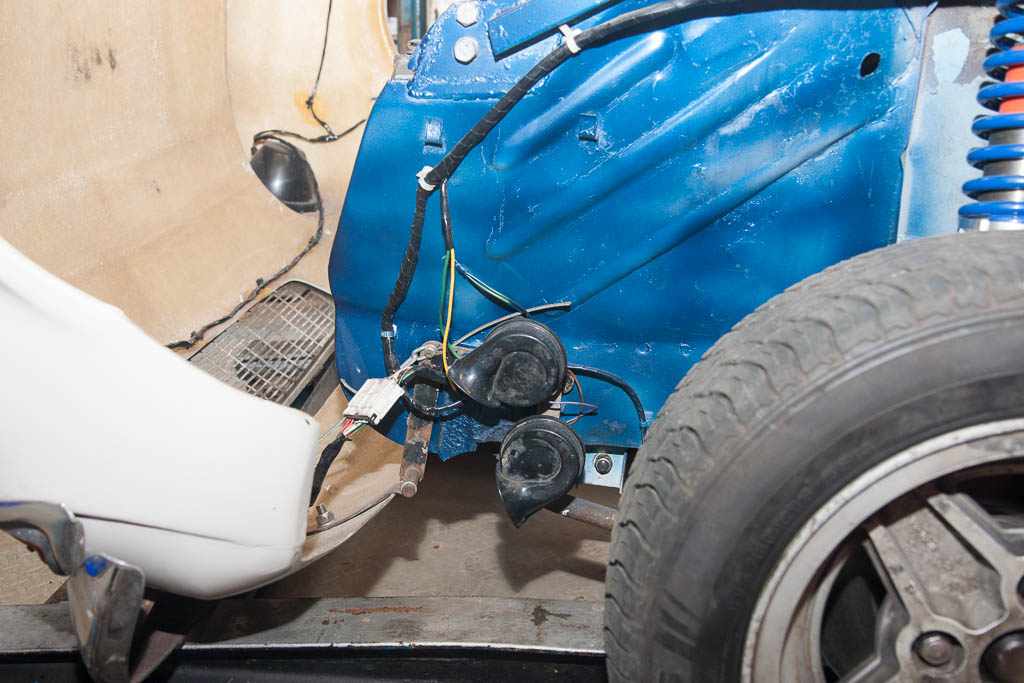
Meep meep! A pair of horns scavenged from a scrap BMW.
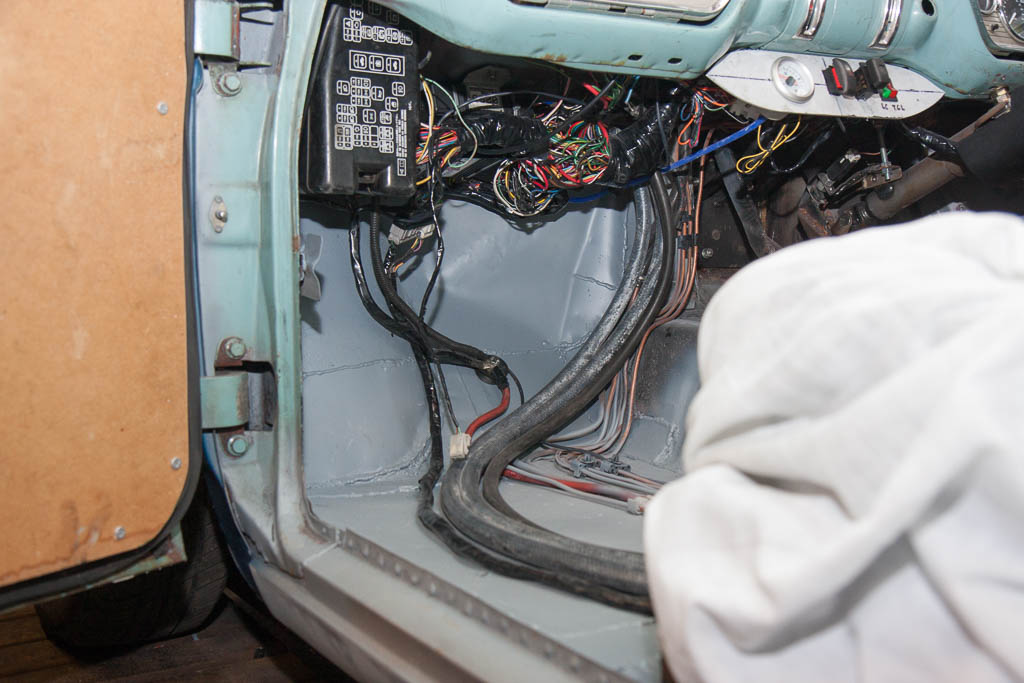
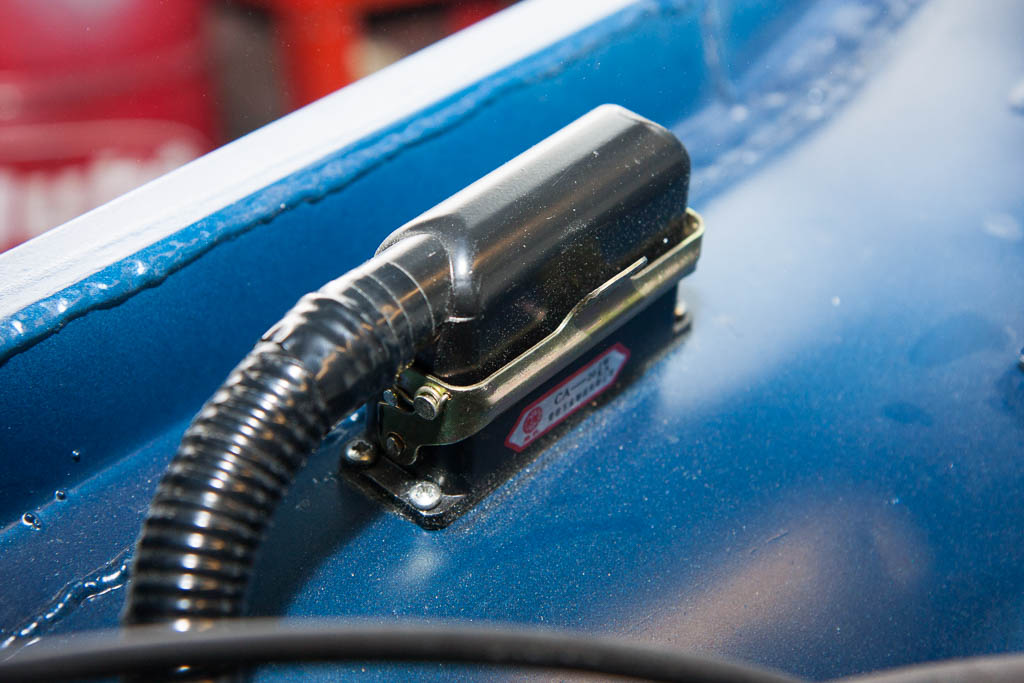
I mentioned before the new connectors for the engine – there’s one of these on each side of the engine bay. So to remove the engine, we simply needed to unclip these two.
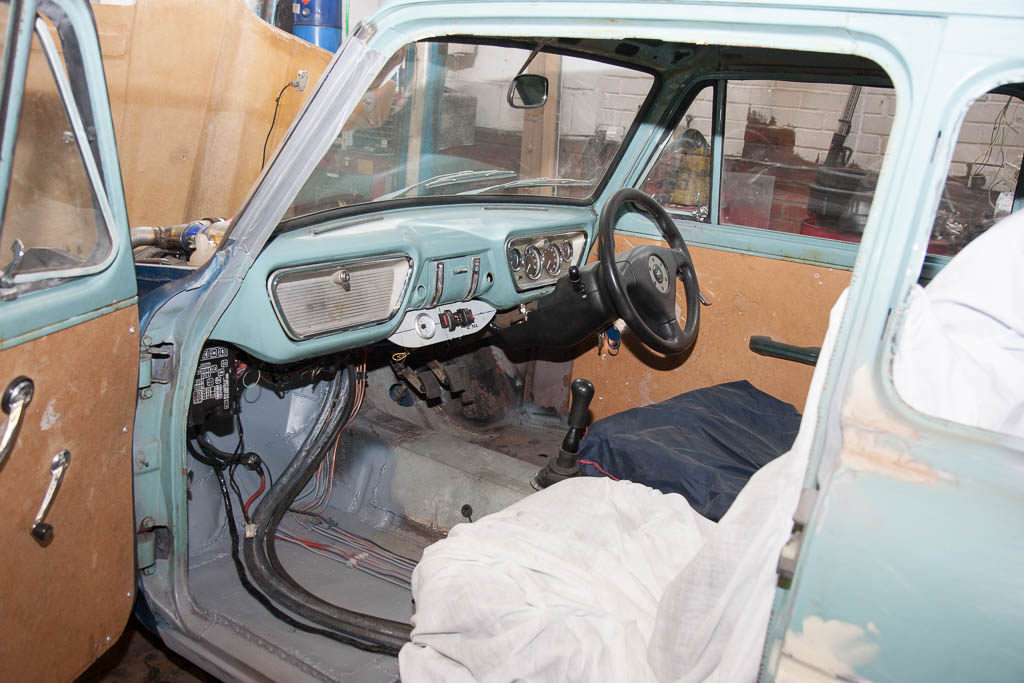
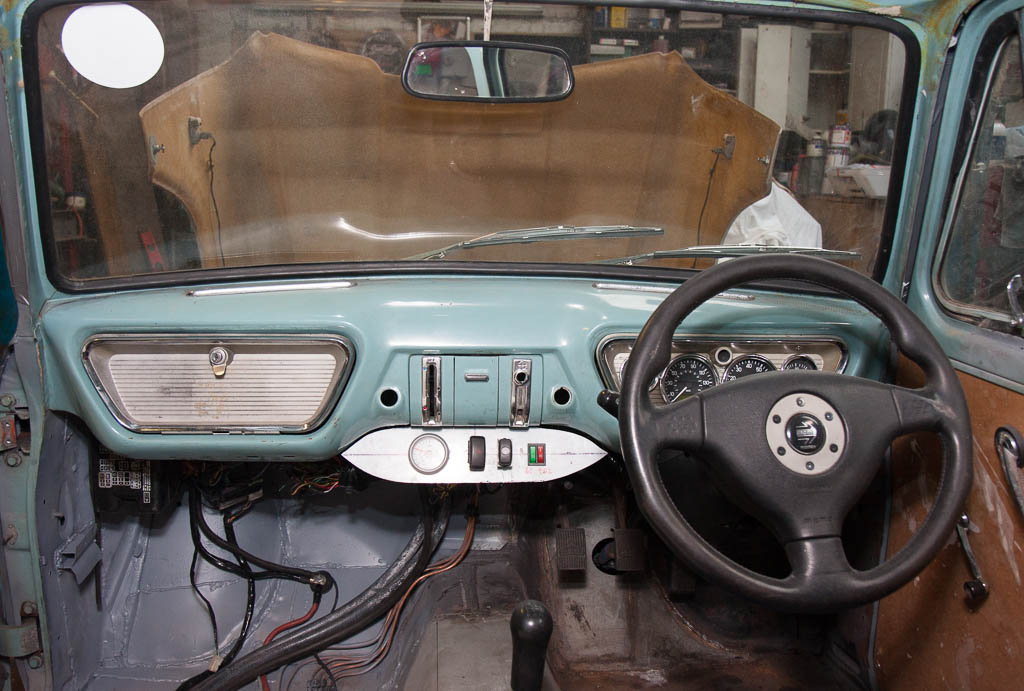
All the wiring inside, now completed, has been tidied up, tucked properly under the dash, and a panel was made up to house the boost gauge & various switches (hazard warning, heated front screen, clutch servo solenoid and launch control)
Then came the moment of truth – an MOT test! With everything put together, checked and double-checked, we took it for a fresh pair of eyes to give it a thorough check over. A nervous wait followed whilst the tester looked, prodded, pulled and poked at everything they usually look at, prod, tug and poke during an MOT test.
He then wandered through into the testing area, and presented a piece of white paper (I miss the days of coloured paper, where you at knew what the result was from across the room without having to read it!) – “Refusal of an MOT Test Certificate” was what this one was not titled! Instead, it said proudly at the top of the sheet “MOT Test Certificate” 😀
Having sorted insurance a couple of hours earlier, I fired up the vehicle licencing page on my phone, and promptly taxed it and drove it back home!
So – how far has it now been driven? Well… back home… where we then proceeded to start on tidying up the bodywork! Having seen the blue in the engine bay, we decided that, as there was some bare metal that still needed protection, to give the whole car a blow over with our newly created colour. All the bits of surface rust have been ground back and treated, the holes for the side trim (which isn’t going back on) welded, ground back and filled over.
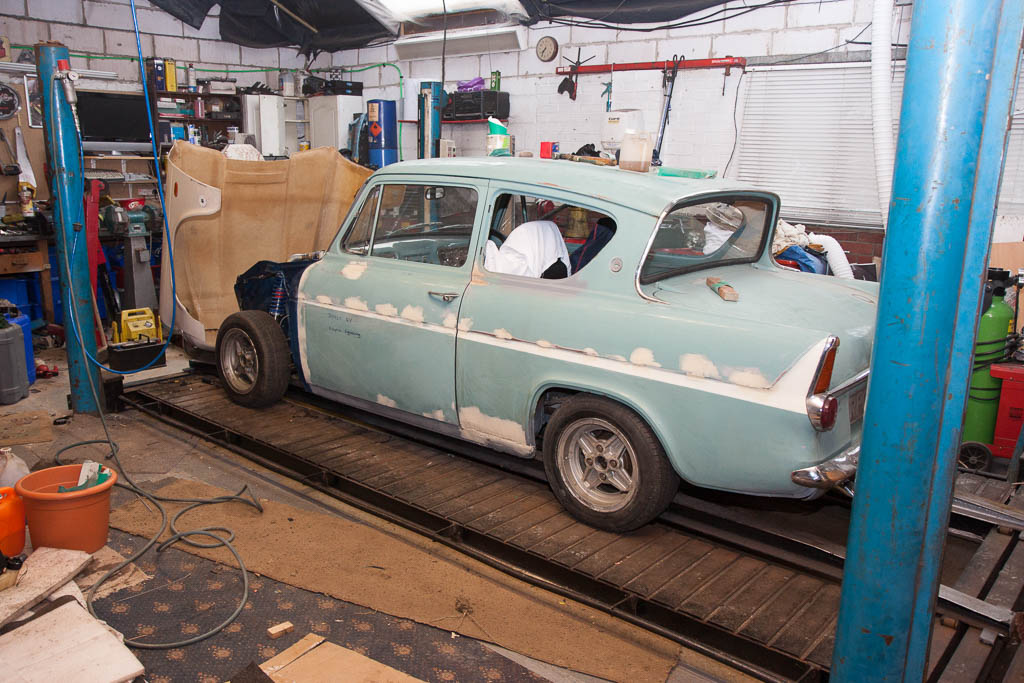
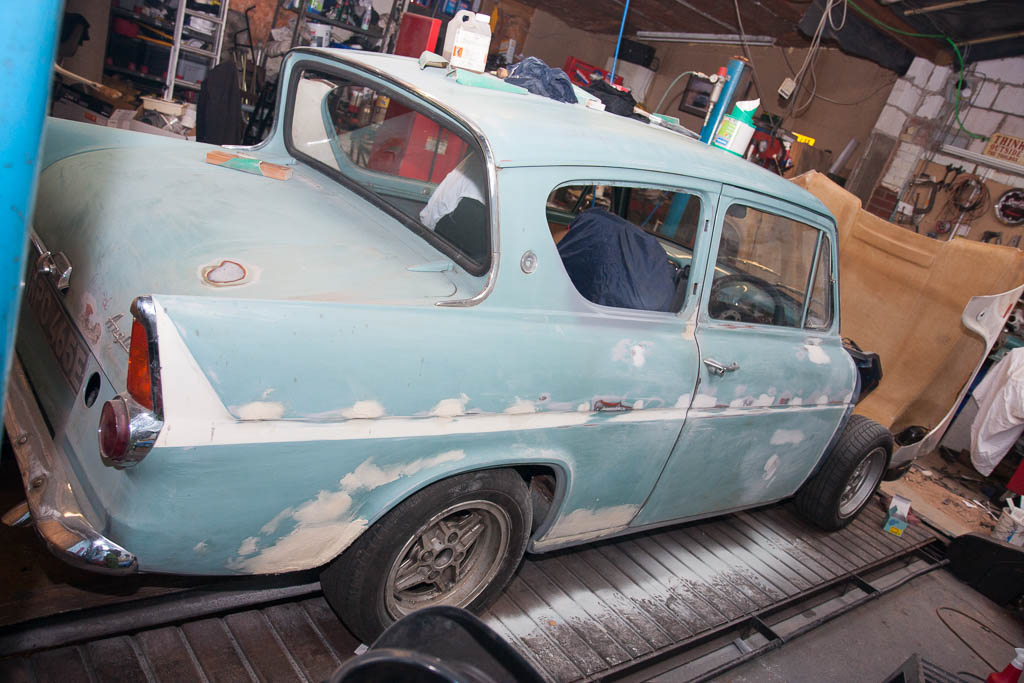
Next is to smooth back this filler, and give it a quick coat of primer & paint so it’s all a single colour, and protected for now – until it comes off the road again in a few months to be stripped back to a bare shell to have a full, proper fix of bodywork and paint.