This is by far the most expensive update I’ve put up throughout the history of this project!
The first item on the credit card statement is a proper fuel tank. With the changes to the axle and the dual exhausts, the standard fuel tank was removed a while back. Additionally, I had a couple of brand new in-tank fuel pumps, so it seemed silly to not utilise them. Plus, with the car starting and running now, it seemed a sensible time to replace the bucket, and we can now keep it fuelled up so it’s easier for my dad to move it around should he need to.
I contacted Alloy Racing Fabrications who were able to make me a nice shiny alloy tank to my exact specifications.
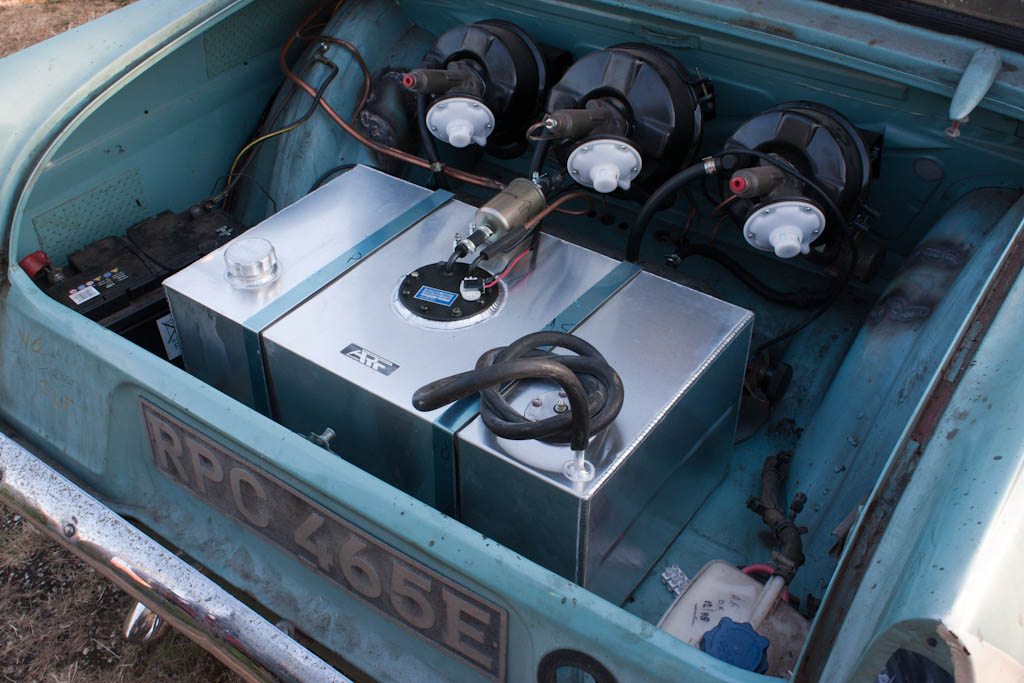
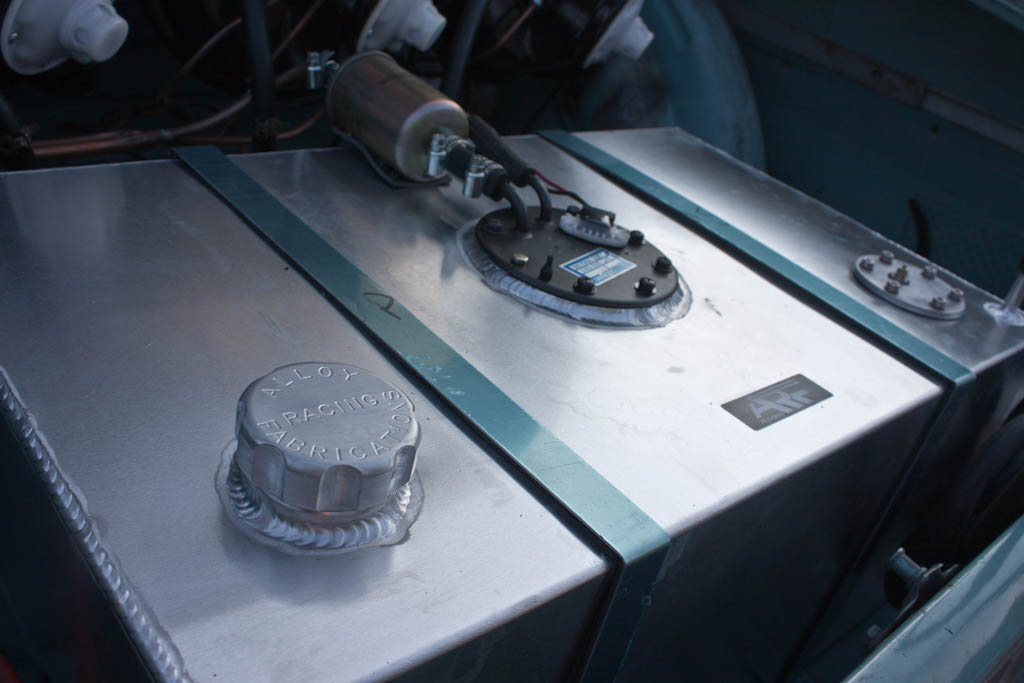
The pump housing is the same as was used in the bucket, but the pump itself has been replaced with an uprated ProDrive pump as fitted to the ProDrive Imprezas – will definitely supply plenty of fuel to the engine.
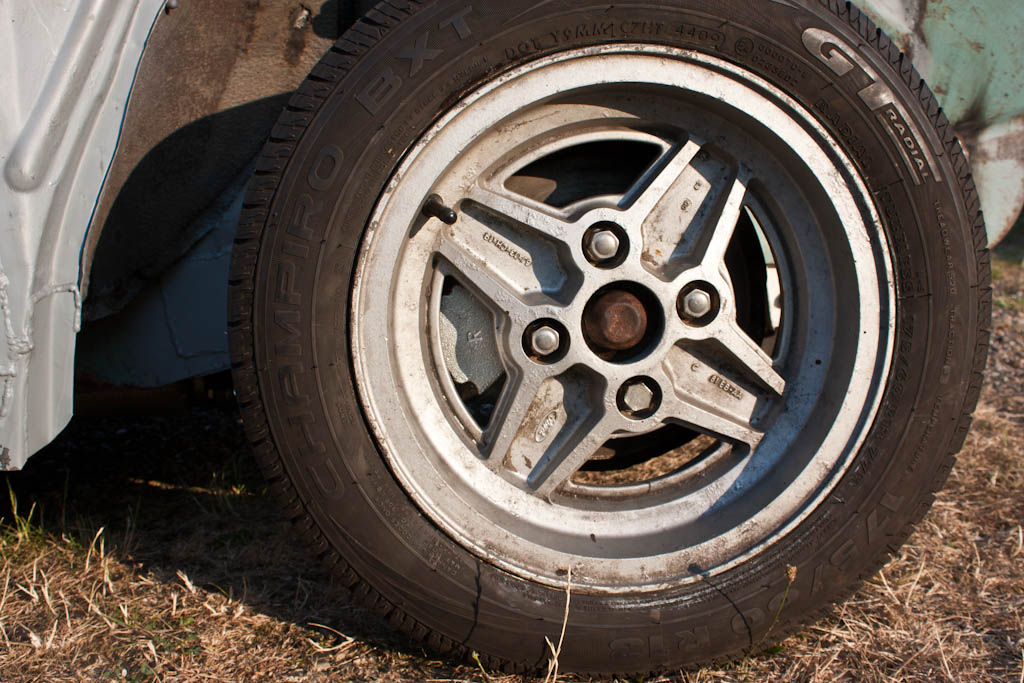
The next line on my credit card bill is for brakes – a new set of M16 calipers to bolt up to the Escort front struts. We also got hold of a couple more 13″ tyres and fitted them to the remaining 4-spoke alloys, so it’s now got a full set of matching wheels.

The VR4 engine usually has an air-air intercooler to cool the compressed air coming from the turbos before it goes into the intake. This is placed at the front of the car and the ambient air moving over surface of the intercooler cools down the warmer air passing over the internals of the intercooler.
Whilst I had never planned to fit an intercooler due to space constraints, I decided on instead fitting an air-water chargecooler.
The chargecooler works with a similar process to the standard engine cooling – a liquid coolant is pumped through the chargecooler, and then passes through a radiator, which removes the heat from the water.
A chargecooler allows fitment in a tighter space than an air-air intercooler, and doesn’t require the lengths of large-diameter air pipework between the turbo and the inlet. All it requires is a couple of much smaller diameter coolant pipes.
There are a number of styles of chargecoolers available, but I decided on a barrel-style, which will sit in the current inlet tract, replacing the pipe running across the top of the engine directly after the Y piece.
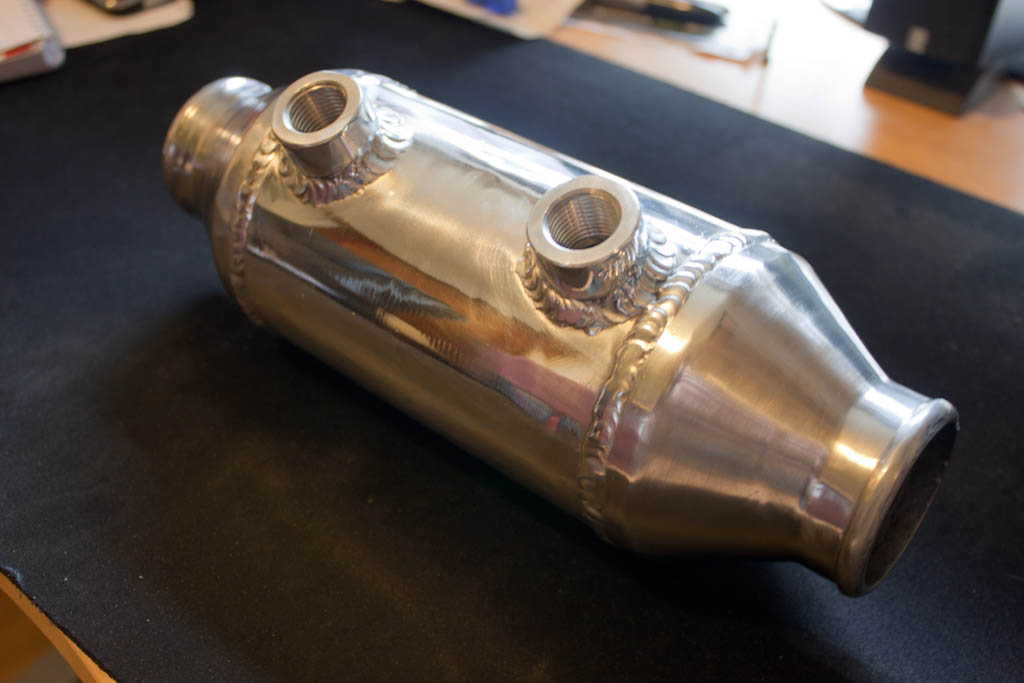
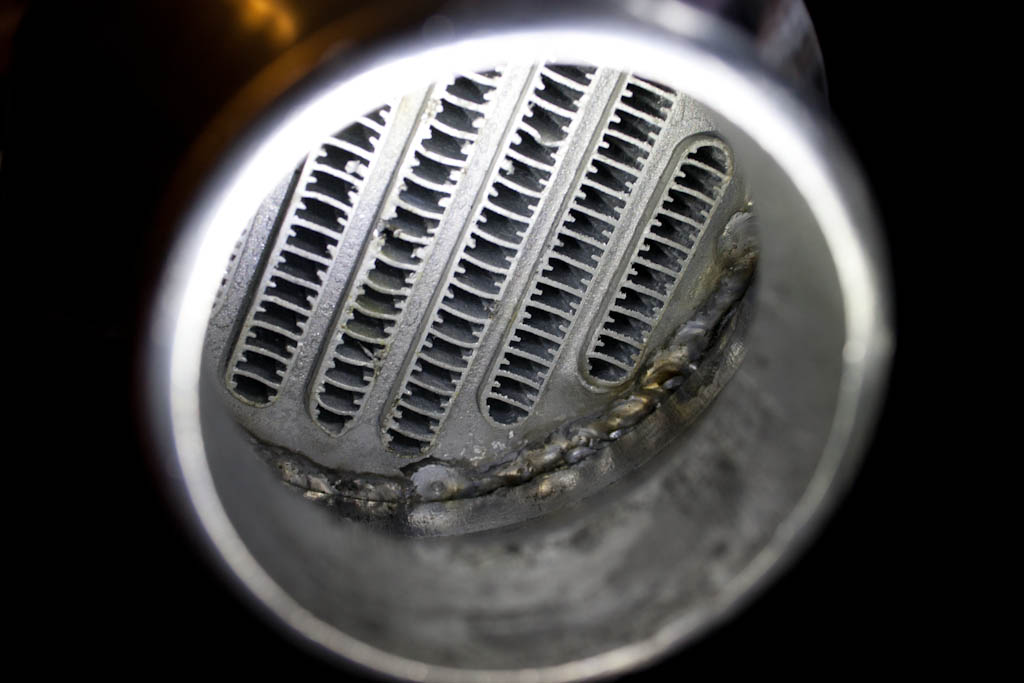
Air passes through the large openings in each end, and water passes through the two smaller openings on the side.
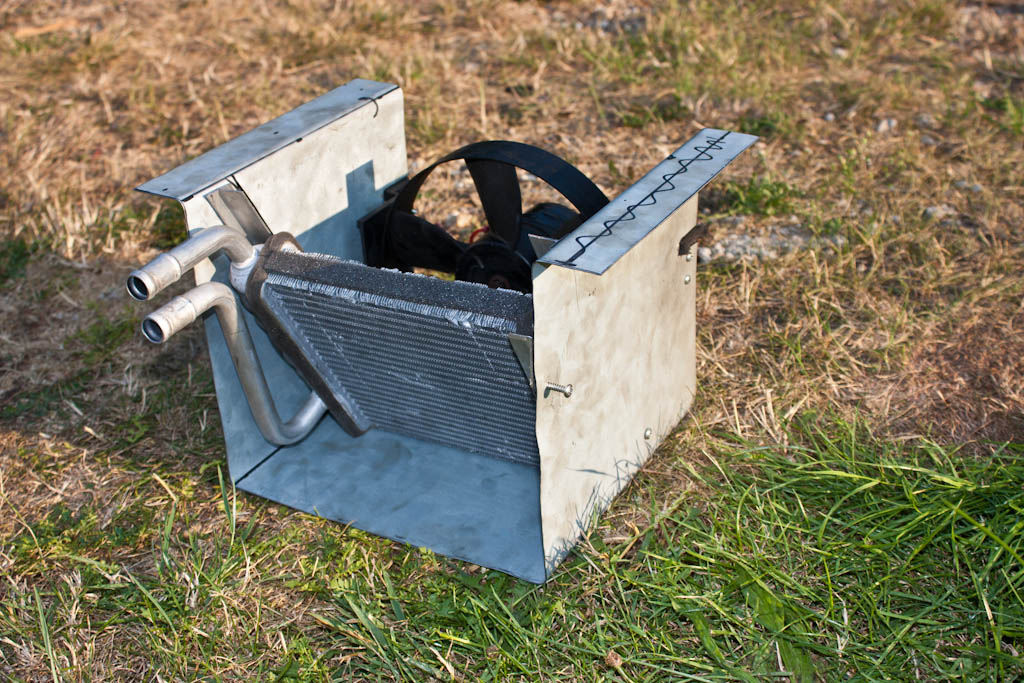
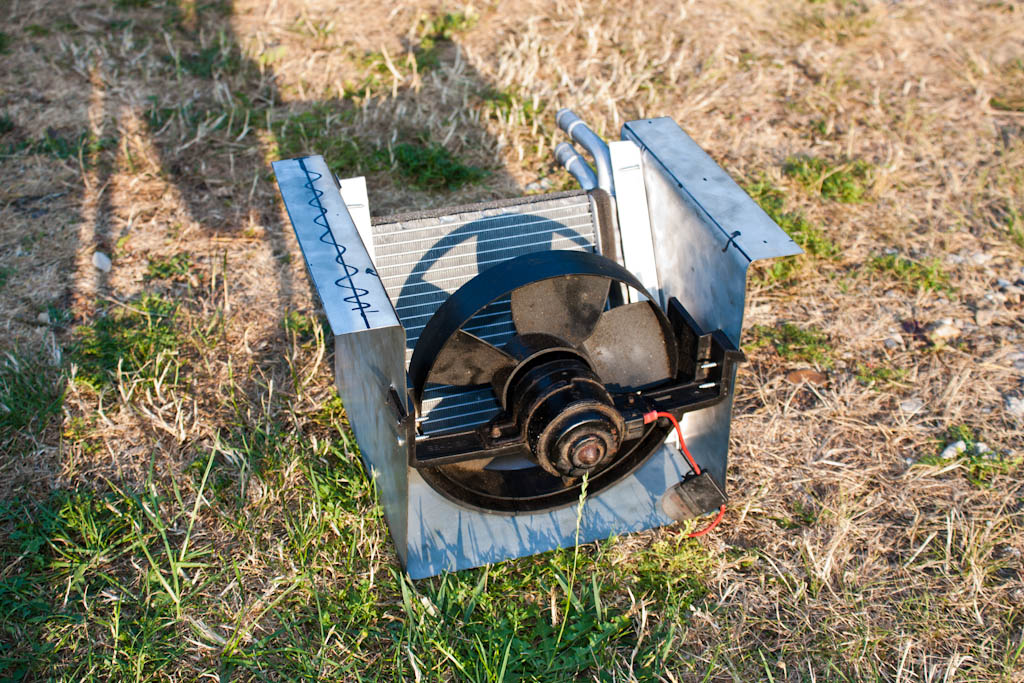
With space tight at the front, and not wishing to dump the heat from the chargecooler in front of the engine coolant radiator, I have decided to mount the other part of the chargecooler at the back of the car. Utilising a heater matrix element, I have begun to make up a box which will sit under the car, in the position of the existing fuel tank, between the two exhausts. This will primarily work by just forcing air through the core, but a fan is also added to aid cooling when at low speeds or when stationary, which will activate based on the temperature of the coolant within the chargecooler system, completely independent to the engine coolant system.
Finally, the trailing arm mount on the driver’s side for the rear suspension was fully boxed in and tied into the chassis. We will repeat this for the passenger side.

And finally, just because… another quick video: