2015 has been an exciting year – it marked the culmination of many years of work, finally getting the car out of the garage, onto the road, and subsequently back into the garage again!
After my last update in October (really, has it been that long!?), I did a little more tidying up of various parts.
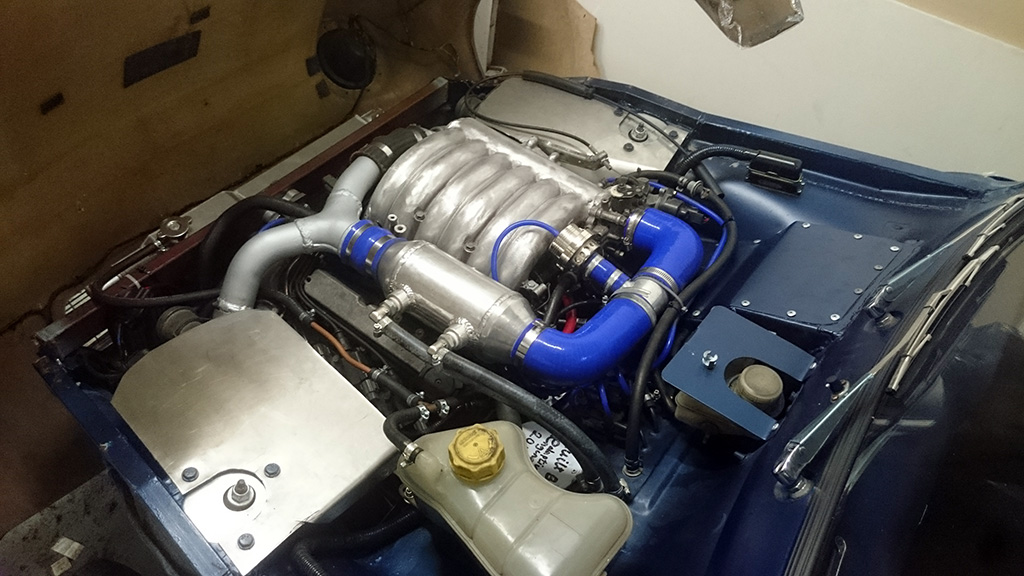
The brackets I painted for the engine were fitted back in place, as well as painting the post-turbo Y pipe, which really tidied up the look of the engine bay.
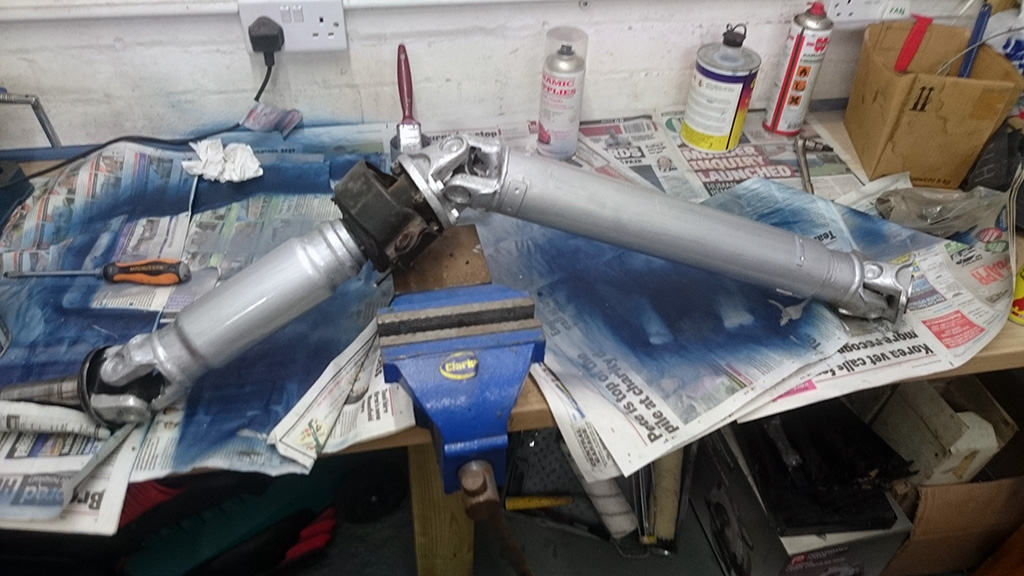
With painting on my mind, the next thing to tidy up was the rear suspension components, which were still in bare metal. I’d only driven it in the wet a couple of times, so before subjecting it to more moisture, time to give it a protective coat.
I decided on silver, as a contrast to the black underseal.
A common issue with the Nissan 200SX is that the centre propshaft bearing fails, and introduces noise to transmission. Whilst painting the suspension, I took the propshaft off to fit a new bearing.

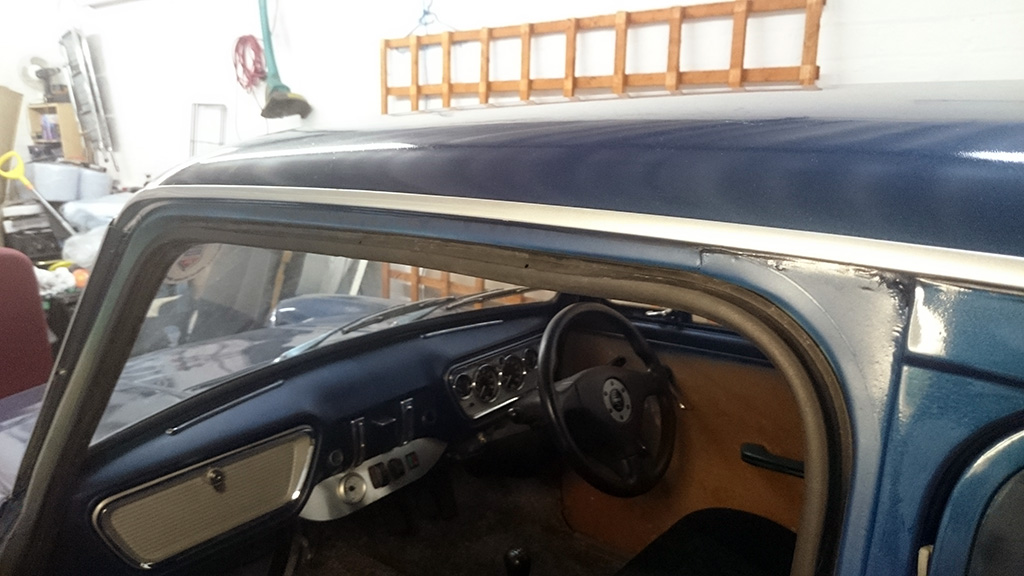
I’d been having a bit of (well, a lot of) wind noise and drafts coming past the doors. The doors still have the original rubbers on them, and until I do a full strip down for final paint and purchase fresh new rubbers from the Owners Club, I’ve fitted an additional rubber to the door opening on the body. This also covers the bare metal edge – two for the price of one! I found to my amazement that the one set of door rubbers I acquired for this (from a Vauxhall Zafira) are the exact perfect size to go around the door opening without any cutting or stretching!
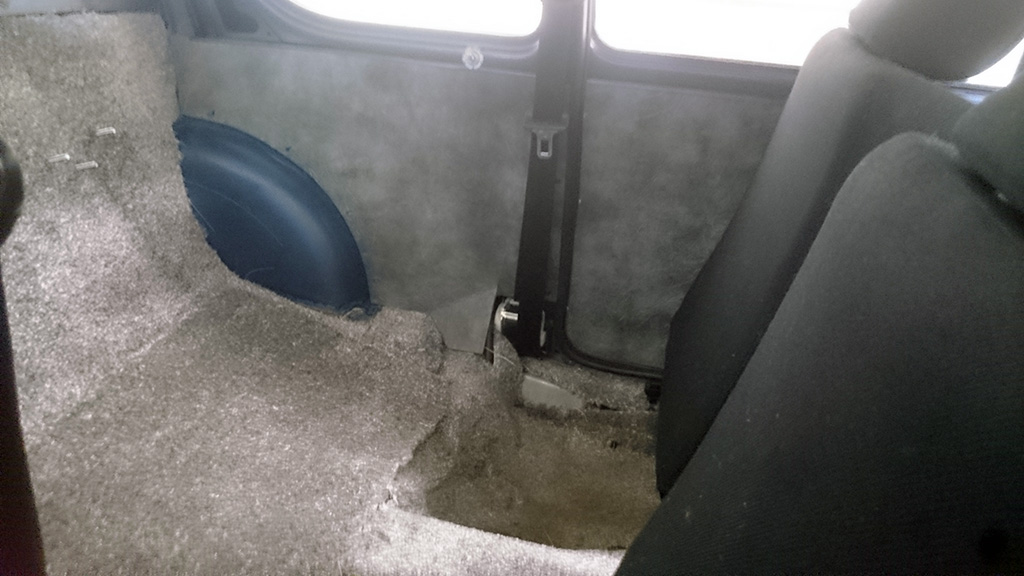
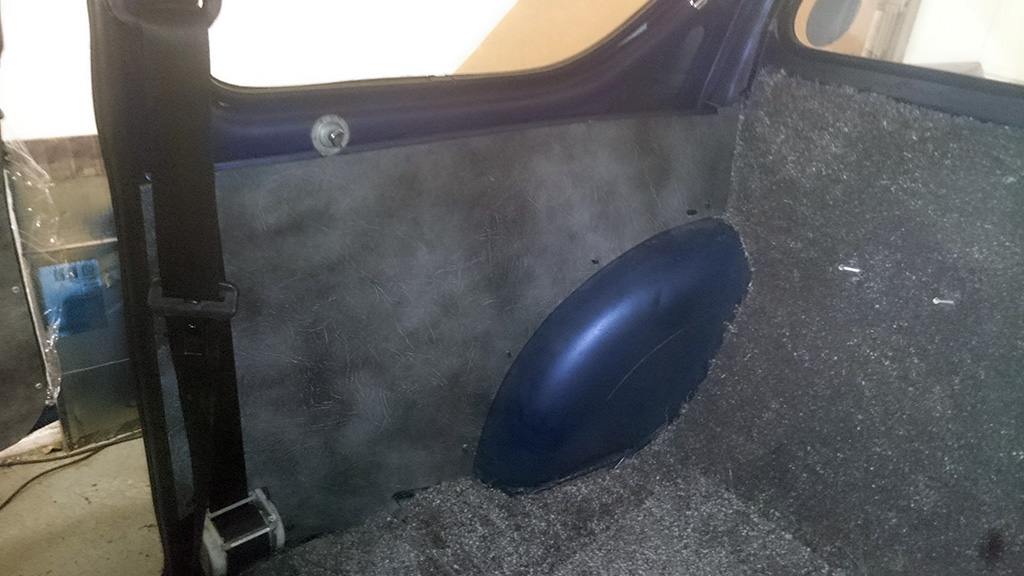
Next off I made up some interior side panels, and covered them with some grey material. I almost went for blue, but thought that the grey would make a nice contrast, and the blue might be too similar but different enough from the body colour to clash, rather than compliment!
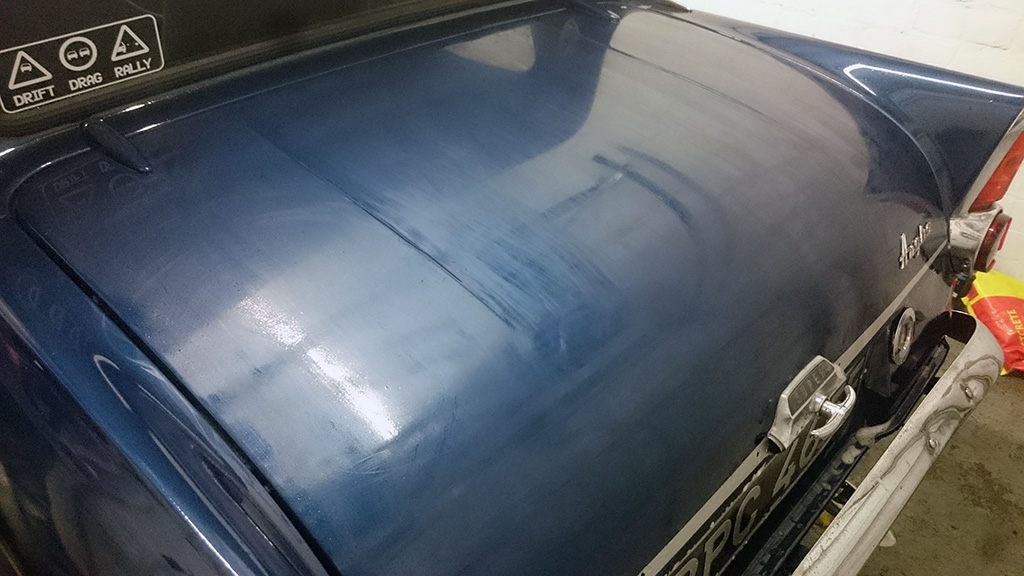
With the paint only ever being temporary, the finish wasn’t 100% perfect, and I never expected it to be. However, when a friend offered to go at it with his machine polisher, who am I to reject the offer!?
We first off gave the boot and bonnet a quick rub down with some 2000 grit sandpaper to get rid of the few surface imperfections, prior to going at it with the polisher.


With some smooth paint, it was time to head down to the NEC for the Classic Car Show, where I was invited to be on the Old Skool Ford stand.

On the way down, I stopped off to see a friend who can flash the Mitsubishi ECU, as I wanted a couple of tweaks applied.
My PLX wideband O2 sensor packed up, so it was not outputting the correct voltage to either the MAP-ECU for the wideband value (0-5v, which is only used for logging), or the simulated narrowband output (0-1v) to the ECU. With this outputting an incorrect voltage, the ECU was adjusting the fuelling to try to correct an incorrect air fuel ratio reading. With it disconnected, a Check Engine light was displayed.
So, I asked for the O2 sensor requirement to be removed, so that the ECU works purely from the fuel tables, and does not attempt to adjust the fuelling based on O2 sensor readings. This will slightly affect economy on a run, but I will not be fighting the adjustments when tuning.
Due to the work of a ClubVR4 forum member, the ECU can also be programmed to flash the Check Engine Light when Knock (pre-detonation) is detected. This gives a good indication to the driver (me) if there is something wrong with the fuelling or boost level that causes pre-detonation of the fuel in the cylinder.
With the computer hooked up, we did a couple of 3rd gear full throttle power runs to see what was what, including with a working wideband O2 sensor hooked up.
The Mitsubishi ECU calculates “load” based on RPM, throttle position, and airflow (amongst other things). On a typical Galant VR-4 doing a full throttle run, this Load value reaches around 240.
However, during our runs, this value only reached around 120!
The boost was also only reaching around 5psi, when it should be around 10psi, and the Wastegate Duty Cycle was at 100% trying to build up a higher Load value. The Wastegate solenoid is activated by the CPU in a “pulsed” mode to bleed off pressure from the wastegate to increase the overall boost pressure. This shouldn’t be at 100%, so it’s indicative of something not right!
The replacement prop bearing had made a positive difference to the noise level, but during the drive back from the NEC, there was still noise coming from the rear, and as I approached home, a new noise started. I stopped off to get some milk (having been gone for 4 days), and when I stopped I noticed that the hand brake wasn’t working as well as it should. Additionally, the passenger side rear wheel was warm to the touch, but the driver’s side was rather hot! I had suspected wheel bearings were needing a replacement (they had been sat outside with the 200SX rear subframe for a few years, exposed to the elements), so the car was tucked up in the garage, and not touched again until the new year!
First on the agenda for 2016 was to look into the handbrake and heat on the rear wheels. I stripped the rear hubs down to check the handbrake, and noticed that the cable had come away from the hook on the floor it should be hooked over. As I lifted the cable back into place, I noticed that the handbrake mechanism moved slightly within the driver’s side rear hub. This movement in the cable had been applying the handbrake slightly – causing the heat I felt. So, securing the cable to the hook, I slacked off the adjustment on the lever to give a mm or so of free play, and readjusted the handbrake mechanism on both rear wheels again.
Next was to look into the issues that may be causing it to be down on power. Firstly I looked at the boost solenoid, and found that it was stuck solid. Usually this switches on/off very quickly every second – the more it’s “on”, the higher the “Duty Cycle”, and the more air is bled away from the diaphragm trying to push the wastegate open to allow exhaust gas to bypass the turbine within the turbo. Bleeding all the air away (100% duty cycle) will cause the wastegate to stay shut. With the solenoid stuck closed, it was bleeding away none of the air, so the wategate was being pushed open at 5psi – the strength of the spring which pulls it closed.
I took the solenoid apart, freed it up and put it back together and tested it on the bench but it still didn’t work properly when in the car. One advantage of having a Legnum VR-4 as a daily car, is that I’ve got a full engine bay of spares! And, as luck would have it, the boost solenoid isn’t being used on the Legnum, as I have an aftermarket electronic boost controller, which has its own solenoid valve, leaving the standard one connected, but not in use. So, I was able to swap the two, and I now have around 10psi of boost – a reasonably healthy increase over 5psi!
I have also purchased a new wideband O2 controller, and a mechanical boost gauge from ETB Instruments to match my existing dials, which I have fitted, replacing the old.
And that’s pretty much up to date. There’s still more to do (isn’t there always!?)
I have, however, decided that I will be participating in a few (if not all) of the Old Skool Ford Drag Championship this year, which is being held at Santa Pod alongside a number of shows.
This will be a great opportunity to have some fun in the car, see what its performance is like, improve both the performance of the car and my drag racing skills, and provide a target for getting improvements and fixes implemented, and probably most importantly, meet some new people and have a laugh doing it!
So – I may see some of you at these events during the year! I’ll keep you informed here how I get on with the championship, as well as the trials and tribulations of it!