Suspension Redesign, Part 2

The next task is to make up the suspension arms – 3 per side. 2 for the bottom, 1 for the top.

As with the trailing arms, these consist of a length of steel tube, threaded inserts, locking nuts, and rose joints. One rose joint is right hand threaded, the other is left hand threaded, and this allows fine adjustment of the length of the arm, without needing to remove anything from the car. Simply loosen the locking nuts, and rotate the tube to lengthen, or shorten, the arm as necessary.

This gives the ability to fully adjust every aspect of the suspension – the toe (whether the front of the wheels point inwards or outwards, and by how much), the camber (how far from vertical the wheels are), and the position within the arches.

We started by making the arms to the correct size needed to put the wheels in the same position as they are with the De-Dion. When looking at it on the car, I’d decided that the wheels were too close to each other, and ideally needed to fill the arches more – so basing the arm lengths on getting it as it current is, will allow adjustment outwards to where necessary (there’s about 5cm of length adjustment on each arm, whilst still maintaining a suitable amount of thread within the insert – which gives up to 10cm overall width adjustment on each side… plenty, as it only needed to come out by about 2cm each side to really fill the arches)

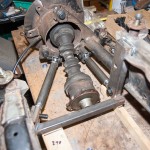
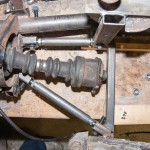
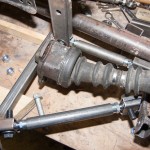
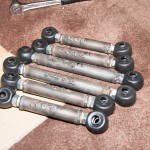
So, we made up the lower arms on the bench:

IMG_5933 IMG_5937 IMG_5938

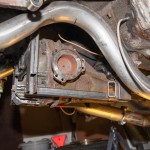
To get the correct length and position for the upper arms (avoiding the exhaust), we then began to transfer stuff to the car, firstly re-fitting the diff and carrier.

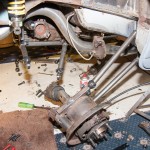
The next bit I forgot to photograph, so I’ll try to explain what we did. We reattached the existing De-Dion axle, including the new lower arms, made up the top arms to length, and then removed it, and chopped the hubs off from each end of the De-Dion tube. This then gave us the hub units separately – our first step towards making them independent.

We needed to give a slight tweak to the exhaust pipes to give us clearance for the top arm – we could have curved it under the exhaust, but as the legendary Colin Chapman allegedly would have said, they then would have been “pre-failed”. But, we’ve got enough capacity in the exhaust to be able to sacrifice a small amount of volume!

IMG_5939 IMG_5940

So, with the welded (and labelled) suspension arms:

IMG_5941

We began to attach each hub unit. First the two trailing arms:

IMG_5943

Then the remaining arms (as you can see, I was extremely useful here, and took it upon myself to take photos, rather than help hold the weight of the hub!)

IMG_5946

The rubber boots for the rose joints actually ended up causing us the most hassle – we’d used 25mm box section, which the bare joints slotted into perfectly. With the addition of the rubber boots, they just wouldn’t fit right. So, we decided to use them slightly differently to how they are supposed to be used, and instead cut the end off them, and stretched them over the box section and over the nuts/bolts – just as water/dust tight, and much easier to fit!

IMG_5953

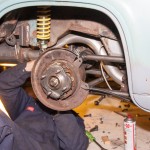
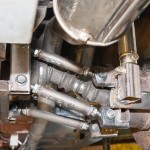
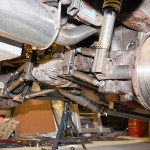
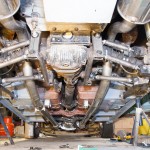
So, with both sides attached, this is how it looks with full droop:

IMG_5956 IMG_5949

Suspension Redesign

First off, I know it’s been a few months since any updates – I’ve not fallen off the face of the planet! The weekends have just fallen quite badly – with the likes of Christmas and other events meaning that time spent on the car has been reduced.

Some of this time has been spent in re-wiring the engine (again) – this time, using quick-release connectors, which will be located in a much better place than they currently are. The current connectors are all tucked down between the engine and the bulkhead, and have prevented us from making up the panel to seal off the bulkhead again.

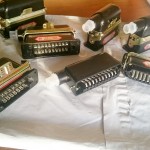
These are the connectors I’m now using – have worked out (after buying them) that 2x 20 pin connectors is enough to do all of the engine wiring (but no harm in having some extras)

Electrical connectors

It had always been a plan of mine to have fully independent suspension on the back of the car, because it allows the greatest amount of adjustment, which will be critical to get the handling just how I want it.

However, my dad didn’t initially want to go fully independent, and so we came to an agreement on the De-Dion setup. The plan then was to drive it around for a while, and then redesign the suspension later.

However, he has since changed his mind, and come round to my way of thinking, so we’ve now started to replace the De-Dion with fully independent – whilst still maintaining the majority of the work on the suspension we’ve already done.

So, the plan is to replace the large, solid tube between the two hubs, and the panhard bar, with more links – we will need upper and lower, to prevent the wheels from folding in on themselves, or falling outwards (like the DeLorean from Back To The Future Part II). There will be 3 of these on either side – 1 top, 2 bottom, which will also allow for a control of toe.

The existing twin trailing arms will remain, and these will prevent the wheels from moving forwards/backwards, as well as preventing any rotational force applied by braking or acceleration.

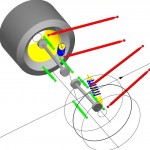
The following diagram should hopefully explain this better, and this will be the basis of our design. (Red is the existing trailing arms, green will be the new arms we need to make)

SusProg source image
Found on the SusProg3D site.

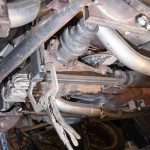
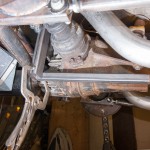
The first step is to add a frame around the diff, which will form the inner mounts of the suspension arms.

Diff carrier Diff carrier

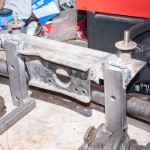
With the basic positioning sorted with it on the car, and the parts tacked together, we then removed the current axle, and put it all onto the bench for fully welding up all the parts for the frame that becomes part of the diff carrier.

Diff carrier

Whilst it was still bolted to the car, we tacked on the lower brackets for the wheel end of the suspension arms – these will be fully welded on when we are perfectly happy with their position.

IMG_5905

Putting it all together on the bench, we position the existing axle with the modified diff carrier, and begin to make up the suspension arms.

Independent rear suspension Independent rear suspension

By doing it this way – until we are happy with the positioning, we don’t have to cut through the De-Dion tube, so we could potentially bolt it back up to the car without affecting the current suspension setup! This is one of the reasons we prototype in the way we do – functional, usable, but not necessarily completed immediately – whilst yes, it took us some time to make the De-Dion axle, it allowed us to get it rolling under its own power, gave us the ability to position the diff, exhausts, trailing arms etc and build around them, but still give us the option to change things later – or, if we’re happy with what we prototyped, we will go back to it and finish it off to a high standard.